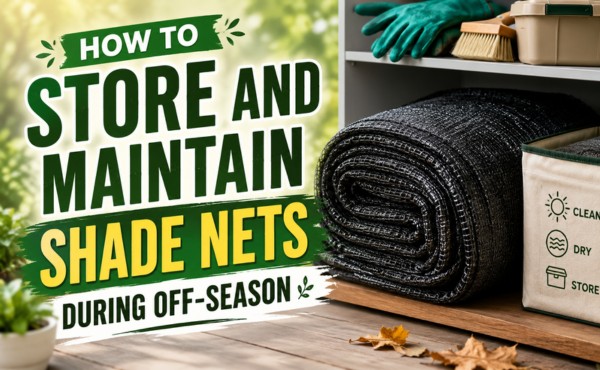
To store shade nets during the off-season, always begin with a thorough cleaning. Make sure the outdoor shade net dries completely to prevent mold and mildew. Inspect each shade sail for tears and repair them before you store your nets. Fold or roll the material, place it in a protective bag, and keep it in a cool, dry, elevated spot. Labeling helps with easy access. These steps keep pests away, reduce weather damage, and extend the life of your investment.
Why Store Shade Nets Properly
Benefits of Proper Storage
Proper storage of shade nets brings many advantages for homeowners, gardeners, and farmers. Clean and dry nets last longer and work better when the next season arrives. Good shade net maintenance helps keep the material strong and flexible. This means less money spent on replacements.
- Longer Lifespan: Storing an outdoor shade net in a dry, cool place prevents mold and mildew. This keeps the net from breaking down over time.
- Ready for Use: When you store a shade sail correctly, it will be clean and free from pests. You can set it up quickly when you need shade again.
- Saves Money: Taking care of garden shade nets reduces the need for repairs or new purchases.
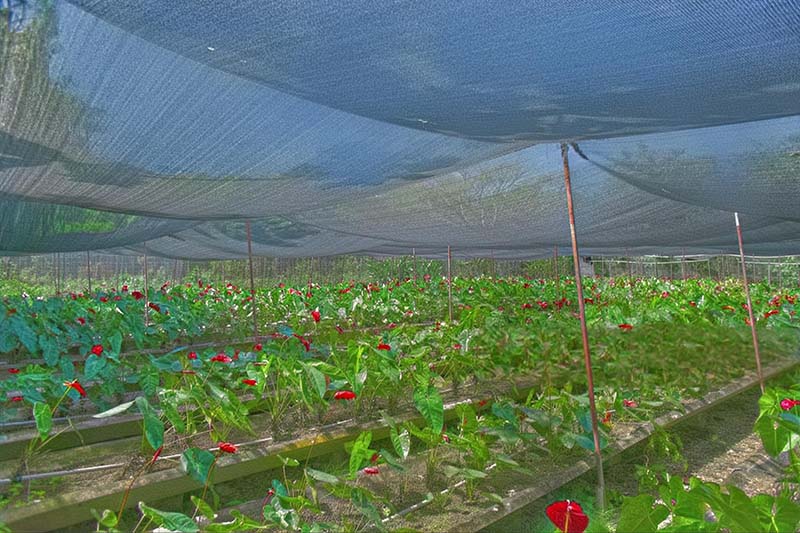
- Prevents Weather Damage: Maintenance of agricultural shade nets protects them from weather-induced damage prevention. This is important for farms and gardens that rely on shade for crops.
- Protects Vehicles and Patios: Maintaining carport shade nets and maintaining outdoor patio shade nets keeps cars and outdoor spaces safe from sun and rain.
Tip: Always check your nets for tears before storing them. Quick repairs now can stop bigger problems later.
Risks of Poor Storage
Improper storage can lead to many problems. Wet or dirty nets attract pests and mold. These can weaken the net and make it unsafe to use.
- Mold and Mildew: Storing nets while wet can cause mold to grow. This damages the net and can make it smell bad.
- Pest Infestation: Nets left on the ground or in damp places may attract insects or rodents.
- Tears and Holes: Without proper maintenance, small tears can become large holes. This makes the net less effective.
- Weather Damage: Not preventing damage from wind and weather can shorten the life of your nets.
Note: Always use a protective bag or container to keep your nets safe from dust, pests, and moisture.
By following these steps, you can make sure your shade nets stay in good shape and are ready for use when you need them.
Cleaning Tips for Shade Nets
Removing Dirt and Residue
Shade nets often collect dust, leaves, and other debris during use. Removing this dirt is the first step in proper maintenance. Begin by shaking the net gently to dislodge loose particles. For stubborn dirt, use a soft brush or broom. Avoid using harsh tools that could damage the netting.
A mild soap solution works well for deeper cleaning. Mix water with a small amount of gentle soap in a bucket. Dip a sponge or soft cloth into the solution and wipe the net carefully. Rinse the net with clean water to remove any soap residue. This process helps prevent buildup that can weaken the material over time.
Tip: Always perform regular cleaning of shade nets to keep them in top condition. This habit makes the cleaning process easier and faster each time.
Ensuring Complete Dryness
Drying is a crucial part of the cleaning process. After washing, hang the net in a shaded, well-ventilated area. Direct sunlight can cause the material to fade or become brittle. Make sure the net is spread out so air can circulate freely.
Check the net for any damp spots before folding or rolling it. Moisture left in the net can lead to mold or mildew growth during storage. Pat down any wet areas with a dry towel if needed. Only store the net when it feels completely dry to the touch.
Note: Always clean before storage to prevent long-term damage. Following these cleaning tips for shade nets will help extend their lifespan and keep them ready for use.
| Step | Action |
|---|---|
| Shake | Remove loose dirt and debris |
| Brush/Wash | Use soft brush and mild soap solution |
| Rinse | Wash off all soap with clean water |
| Dry | Hang in shade until fully dry |
Shade Net Maintenance Before Storage
Inspecting for Damage
Regular inspections are a key part of shade net maintenance. Before storing your nets, check every section for signs of wear. Look for frayed edges, small holes, or weak spots. These problems can get worse if left untreated. Use your hands to feel for thin areas that might tear easily. Hold the net up to the light to spot any hidden damage.
It is important to perform regular inspections at the end of each season. This habit helps you find issues early. Make a checklist to guide your inspections. Include steps like checking seams, corners, and attachment points. Write down any problems you find. This record will help you track the condition of your nets over time.
Tip: Schedule regular inspections every few months, even during the off-season. This practice prevents surprises when you need your nets again.
If you notice severe damage during inspections, consider replacement. Replacement of old or damaged shade nets keeps your setup safe and effective. Do not wait until the next season to handle repairs or replacement.
Repairing Tears and Holes
Small tears and holes can often be fixed with simple tools. Use a patch kit or strong thread to mend minor damage. Clean the area around the tear before starting repairs. This step helps the patch stick better and last longer.
Follow these steps for basic repairs:
- Trim any loose threads around the hole.
- Place a patch over the damaged spot.
- Sew or glue the patch in place, following the kit instructions.
- Check your work during regular inspections to make sure the repair holds.
If the damage is too large, replacement may be the best option. Replacement ensures the net stays strong and does its job. Always keep extra material or a patch kit on hand for quick fixes. Good maintenance and regular inspections reduce the need for frequent replacement.
Note: Timely repairs and replacement protect your investment and keep your nets ready for use.
How to Store Shade Nets
Folding or Rolling Nets
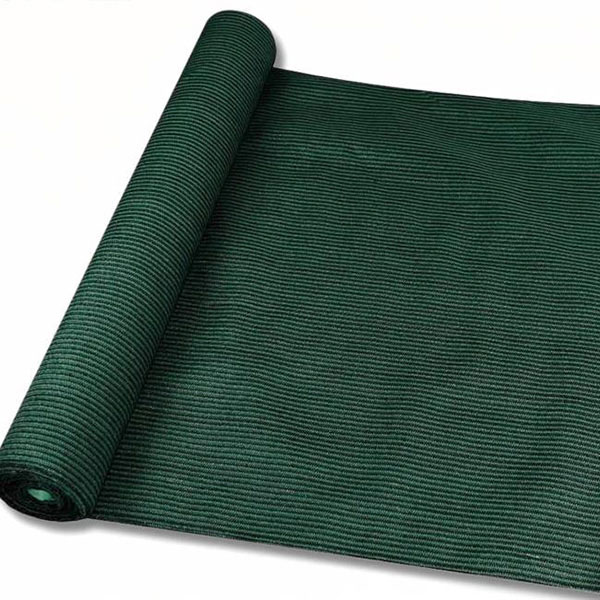
Proper folding or rolling is the first step when you store shade nets. This process helps prevent creases and damage. Start by laying the outdoor shade net flat on a clean, dry surface. Remove any remaining debris with your hands or a soft brush. Make sure the net is completely dry before you begin.
To fold neatly, bring the edges of the shade sail together. Smooth out any wrinkles as you go. Fold the net in half, then continue folding until it reaches a manageable size. For larger nets, rolling may work better. Begin at one end and roll the outdoor shade net tightly. Rolling reduces stress on the material and helps keep the shape. Always handle the net gently to avoid stretching or tearing.
Tip: Folding or rolling the shade sail right after cleaning makes the process easier and keeps the net in good condition.
Choosing a Storage Location
Selecting the right place for storing shade nets between seasons is important. The location should be cool, dry, and elevated. Avoid areas with high humidity, water leakage, or direct sunlight. These conditions can cause mold, mildew, and fading.
Look for a spot inside a shed, garage, or storage room. Place the outdoor shade net on a shelf or hang it from hooks to keep it off the ground. Elevating the net protects it from pests and moisture. Make sure the area has good airflow to prevent dampness.
Note: Never store a shade sail near chemicals or sharp objects. These can damage the material and shorten its lifespan.
Using Protective Bags and Containers
Protective bags and containers offer extra safety for your outdoor shade net. Use a breathable bag or a sturdy plastic container with a lid. This step keeps dust, pests, and moisture away from the shade sail. Place the folded or rolled net inside the bag or container. Seal it tightly but do not compress the net too much.
If you use a container, line the bottom with a clean cloth. This prevents friction and adds a layer of protection. Store the container in your chosen location. Using protective bags and containers is one of the most effective proper storage techniques for outdoor shade net care.
Alert: Avoid plastic bags that trap moisture. Choose materials that allow air to circulate.
Labeling for Easy Access
Labeling helps you find the right shade sail quickly when you need it. Use a waterproof marker or a printed label. Write the size, type, and location where the net was last used. Attach the label to the bag or container.
If you have several outdoor shade nets, create a simple inventory list. Keep this list near your storage area. Labeling and organizing your nets saves time and prevents confusion during setup.
Tip: Good labeling is part of adequate storage and makes handling shade nets much easier.
By following these steps, you ensure proper storage and extend the life of your outdoor shade net. Storing shade nets with care protects your investment and keeps your shade sail ready for the next season.
Shade Net Maintenance During Off-Season
Regular Checks for Pests and Mold
Winter brings unique challenges for shade net maintenance. During the offseason, it is important to check your nets regularly for pests and mold. Cold weather does not always stop insects or rodents from seeking shelter. Mold can also grow if there is hidden moisture. Set a schedule to inspect your nets every few weeks throughout winter. Look for small holes, droppings, or webbing. These signs show that pests may be present. Use a flashlight to check inside storage bags or containers. Mold often appears as dark spots or a musty smell. If you find any problems, clean the affected area right away. Remove mold with a mild soap solution and let the net dry completely before storing it again.
Tip: Early detection helps protect your nets from serious damage and keeps them ready for use after winter.
Pest Prevention Tips
Preparing for winter means taking steps to keep pests away from your shade nets. Start by storing nets in sealed containers or bags. Choose storage areas that stay dry and cool during winter. Avoid placing nets near food, seeds, or compost. These items attract rodents and insects. Place traps or natural repellents near your storage area as an extra layer of protection. Cedar blocks or lavender sachets can help keep pests away without using chemicals. Elevate your nets off the ground to reduce the risk of infestation. Make sure the storage space has good airflow, which helps prevent both pests and mold.
A simple checklist for preparing for winter storage:
- Inspect nets for damage before storing.
- Clean and dry nets thoroughly.
- Store in sealed, elevated containers.
- Use natural repellents.
- Check storage area for leaks or dampness.
Regular maintenance during the offseason ensures your nets stay in top condition. Preparing for winter and following these tips will help you avoid costly repairs and extend the life of your nets.
Common Mistakes to Avoid
Mistakes during storage can shorten the life of your shade nets. Many people overlook simple steps that protect their investment. Learn about the most common errors and how to avoid them.
Storing Nets While Wet
Moisture is one of the biggest threats to shade nets. Storing a net while it is still wet can lead to mold and mildew. These problems weaken the material and cause unpleasant odors. Always check that the net is completely dry before folding or rolling it for storage. If you are unsure, let it air out for another day. This simple step supports good shade net maintenance and prevents costly damage.
Tip: Use a dry towel to remove any leftover moisture before storing your net.
Exposing Nets to Sunlight or Humidity
Direct sunlight and high humidity can harm stored nets. Sunlight fades colors and makes the material brittle. Humidity encourages mold growth and attracts pests. Store your nets in a cool, dry place away from windows and water sources. Choose a location with good airflow. This practice keeps your nets strong and ready for use.
| Mistake | Result |
|---|---|
| Sunlight exposure | Fading, brittleness |
| High humidity | Mold, pest infestation |
Using Improper Storage Materials
The wrong storage materials can cause damage. Plastic bags that do not breathe trap moisture. Cardboard boxes can attract insects and break down if they get wet. Use breathable fabric bags or sturdy plastic containers with lids. These options protect your nets from dust, pests, and moisture. Good maintenance includes choosing the right storage method for your needs.
Note: Check your storage materials each season to make sure they are still in good condition.
Avoiding these mistakes helps extend the life of your nets. Careful shade net maintenance ensures your nets stay effective and ready for the next season.
Conclusion
Proper shade net maintenance keeps your nets strong and ready for the next season. Clean, dry, and repair each net before storage. Fold or roll them, use protective bags, and store in a cool, dry place. Label each bag for easy access. Good maintenance prevents mold, pests, and damage. These steps help your nets last longer and save you money.
Remember: Simple care now means less work later.
FAQ
How often should I inspect shade nets during the off-season?
Check your nets every month. Look for signs of pests, mold, or damage. Early detection helps prevent bigger problems and keeps your nets ready for use.
What is the best way to clean shade nets before storage?
Use a soft brush to remove dirt. Wash with mild soap and water. Rinse thoroughly. Hang the net in a shaded area until it is completely dry.
Can I store shade nets outdoors?
Storing nets outdoors is not recommended. Moisture, sunlight, and pests can damage the material. Choose a cool, dry, indoor location for best results.
Why is shade net maintenance important?
Shade net maintenance prevents mold, extends the lifespan, and saves money. Regular care keeps nets strong and ready for the next season.
What materials should I use for storing shade nets?
Use breathable fabric bags or sturdy plastic containers with lids. Avoid plastic bags that trap moisture and cardboard boxes that attract pests.