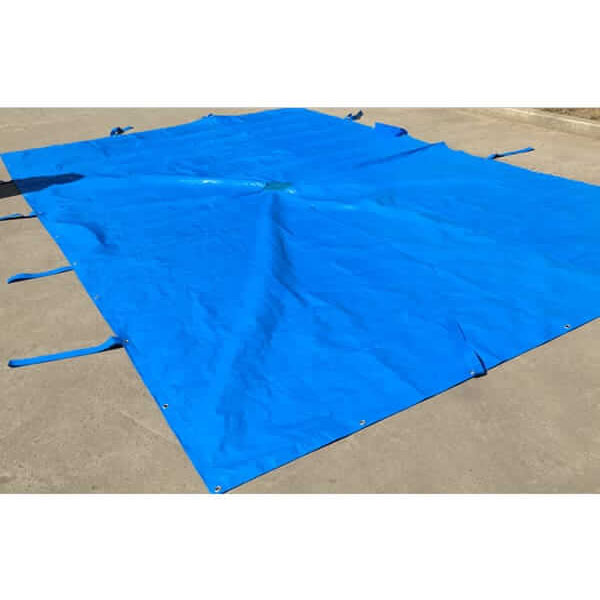
Installing a triangle shade sail creates a comfortable and cool spot outdoors. To complete a successful installation, one should plan the layout, anchor the supports, apply even tension, and always check for safety. Many people worry about stability or whether the outdoor shade sail will provide enough shade. This process remains manageable for beginners.
Tiangle Shade Sail Installation Instructions

Plan Your Layout
A successful installation starts with a clear plan. The installer should measure the area where the shade sail will go. They should decide which parts of the yard or patio need the most shade. A triangle shade sail works best when each corner attaches to a strong anchor point. The installer should check for trees, fences, or walls that can support the sail. They should also look for obstacles like power lines or tree branches.
Mark Post Placement
After planning the layout, the installer should mark where each post or anchor will go. The corners of the shade sail must form a tight triangle. The installer should use stakes or chalk to mark these spots on the ground. They should make sure the distances between points match the sail’s sides. If the points are too close, the sail will sag. If they are too far apart, the sail will not reach.
Sun & Wind Considerations
The installer should think about the sun’s path during the day. The best shade comes when the sail blocks the midday sun. They should check where the sun rises and sets. Placing the sail at an angle can help block more sunlight. The installer should also consider wind. Strong winds can damage a poorly installed shade sail. They should choose anchor points that face away from the strongest winds.
Common mistakes include ignoring the sun’s movement or placing the sail too low. The installer should avoid these errors to maximize shade and keep the installation safe.
These installation instructions help create a comfortable and safe outdoor space. Careful planning and attention to detail lead to the best results.
Prepare Anchor Points for Shade Sail

Dig Post Holes
Strong anchor points form the foundation of a safe shade sail installation. For areas without existing structures, installers must dig post holes. Each hole should measure at least 2 feet deep for stability. Gravel at the bottom of the hole helps with drainage. Installers should use a post hole digger or shovel for this task. They must check that each hole lines up with the planned layout. Accurate placement ensures the shade sail will stretch evenly.
Secure Posts
After digging, installers place sturdy posts in each hole. Pressure-treated wood or steel posts work best for outdoor use. Concrete secures the posts and prevents movement. Installers should pour concrete around each post and use a level to keep them straight. Posts must set for at least 24 hours before moving to the next step. This process creates reliable anchor points for the shade sail.
Anchor Strength
Anchor strength determines the safety and longevity of the installation. Each anchor point must handle the force from wind and the tension of the shade sail. Installers should test each anchor by pulling firmly before attaching hardware. Weak anchors can cause the shade to sag or fail. Regular checks help maintain a secure outdoor space.
Install Hardware for Tiangle Shade Sail
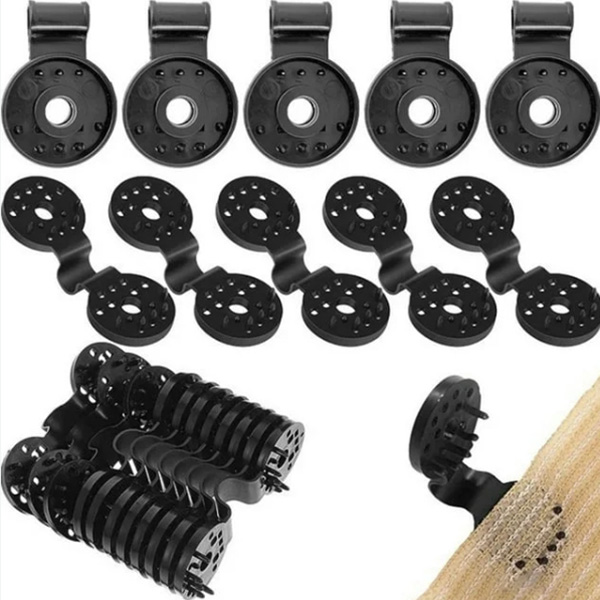
Attach Hardware to Anchors
Installers begin by selecting the right hardware for each anchor point. They use pad eyes, turnbuckles, and snap hooks to connect the shade sail to posts or walls. Each piece of hardware must match the strength needed for the installation. Installers attach pad eyes to wooden posts or masonry using screws or bolts. They secure snap hooks to the corners of the shade sail. Turnbuckles help adjust tension and keep the sail tight. A table below shows common hardware and their uses:
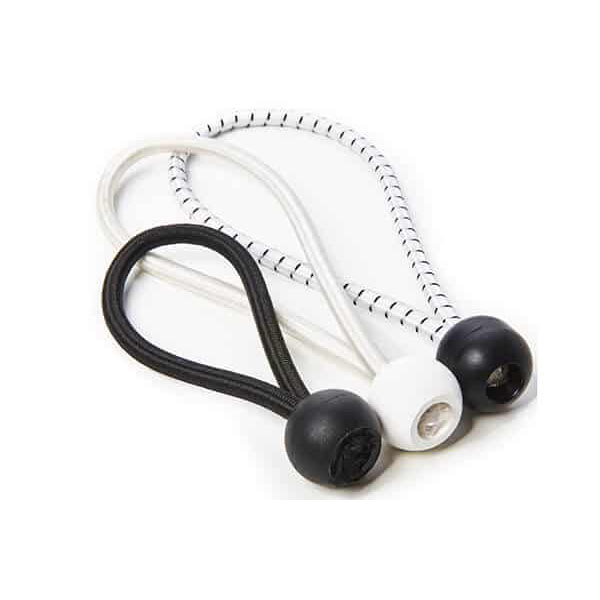
Leave Gap for Tensioners
Installers must leave a small gap between the anchor point and the shade sail. This space allows room for tensioners like turnbuckles. Without a gap, the sail cannot stretch properly during installation. Installers measure the gap based on the hardware length. They avoid pulling the shade sail too tight at first. The gap helps adjust tension evenly across all corners.
- Leave at least 6 inches for each tensioner.
- Check that the gap matches the hardware size.
Hardware Safety Tips
Safety matters during every installation. Installers wear gloves to protect their hands from sharp hardware. They inspect each piece for rust or damage before use. Only use hardware rated for outdoor conditions. Installers tighten all bolts and screws securely. They avoid over-tightening, which can damage the shade sail or anchor points.
Mount a Tiangle Shade Sail
Connect Each Corner
To mount a shade sail, installers start by connecting each corner of the triangle to its anchor point. They use snap hooks or shackles to attach the corners to the hardware. Each connection must feel secure before moving to the next. Installers often find it easiest to begin with the highest corner. This method helps the shade sail hang evenly and prevents twisting.
Evenly Tension the Sail
After connecting all corners, installers focus on tensioning the shade sail. They use turnbuckles or tensioners to pull the fabric tight. Even tension across all sides keeps the sail flat and prevents flapping in the wind. Installers adjust each turnbuckle a little at a time. They check the fabric for wrinkles or loose spots as they work.
A simple checklist helps maintain even tension:
- Tighten each corner gradually.
- Inspect the shade for smoothness.
- Adjust as needed for a balanced look.
Adjust for Sag
Some sag may appear after the first installation. Installers should not worry if the shade sail looks a bit loose at first. They can fix this by tightening the turnbuckles again. The goal is to remove most of the sag while keeping the fabric under control. Too much tension can damage the sail or anchors. Installers should leave a slight curve in the fabric to allow rainwater to run off.
Final Checks & Maintenance
Inspect Stability
After completing the installation, the installer should check the stability of every anchor point. Each post or wall mount must feel solid and show no signs of movement. The installer can gently push and pull on the posts to test their strength. Hardware such as turnbuckles and snap hooks should remain tight and free from rust. If the shade sail covers a large area, the installer should walk underneath and look for any sagging or uneven tension.
Make Adjustments
Sometimes, the shade sail may need small adjustments after the first few days. The installer should look for wrinkles or sagging in the fabric. Turnbuckles allow for easy tightening or loosening. If water pools on the shade, the installer can increase the slope by adjusting one corner higher. Regular checks help keep the shade looking neat and working well.
A simple adjustment checklist:
- Check all hardware for tightness.
- Adjust turnbuckles for even tension.
- Raise or lower corners to improve water runoff.
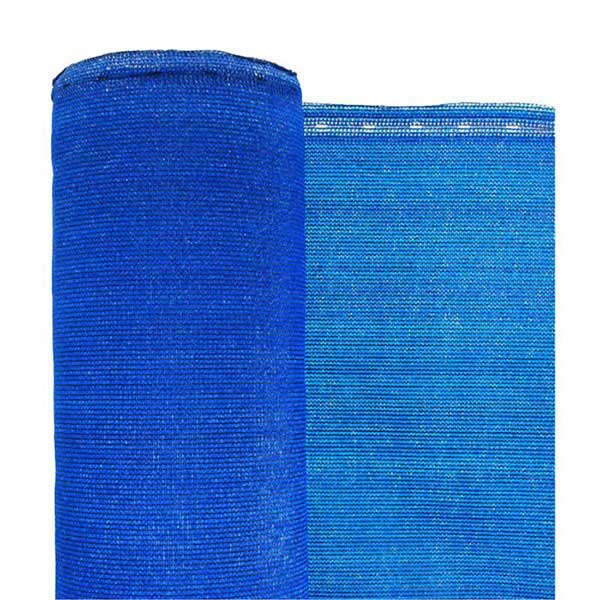
Cleaning & Seasonal Care
Keeping the Tiangle shade sail clean extends its life. The installer should remove leaves, dirt, or debris with a soft brush or hose. For stains, mild soap and water work best. Avoid harsh chemicals, which can damage the fabric. Before winter or during severe weather, the installer should consider taking down the shade sail to prevent damage. Store the sail in a dry place when not in use.
| Task | Frequency |
|---|---|
| Clean with water | Monthly |
| Inspect hardware | Every 2 months |
| Remove before snow | As needed |
Conclusion
A successful shade sail installation starts with careful planning and strong anchor points. Each step, from measuring the area to tensioning the fabric, helps create a safe and lasting shade. Regular checks and simple maintenance keep the structure secure.