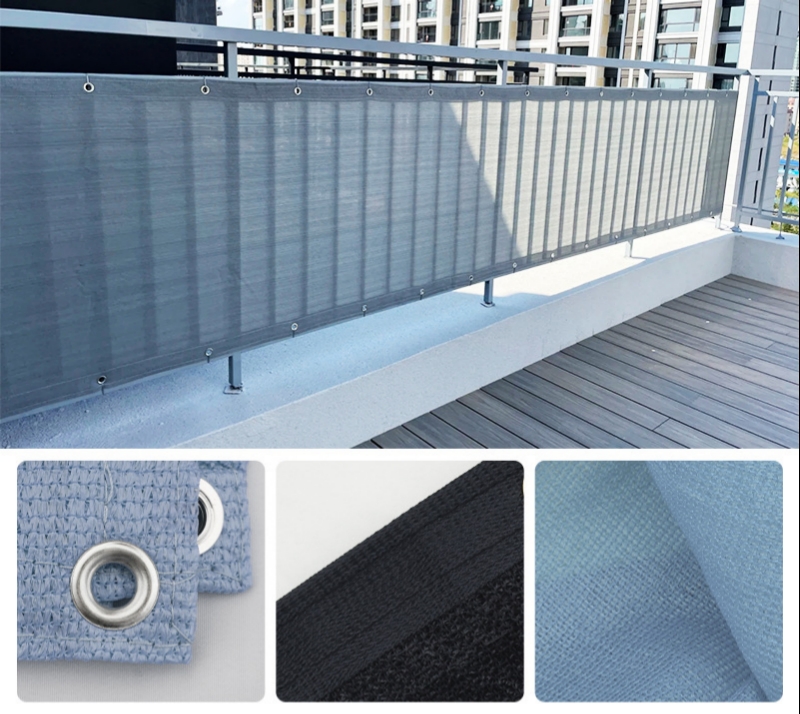
To attach privacy mesh to a fence, a person should align the material, secure it with sturdy fasteners, and check for a tight fit. Many homeowners finish this task quickly with basic tools. Privacy mesh blocks unwanted views and adds a neat look to any yard. Most people enjoy the sense of accomplishment that comes from a secure installation.
Tools and Materials for Fence Installation
Mesh and Screen Types
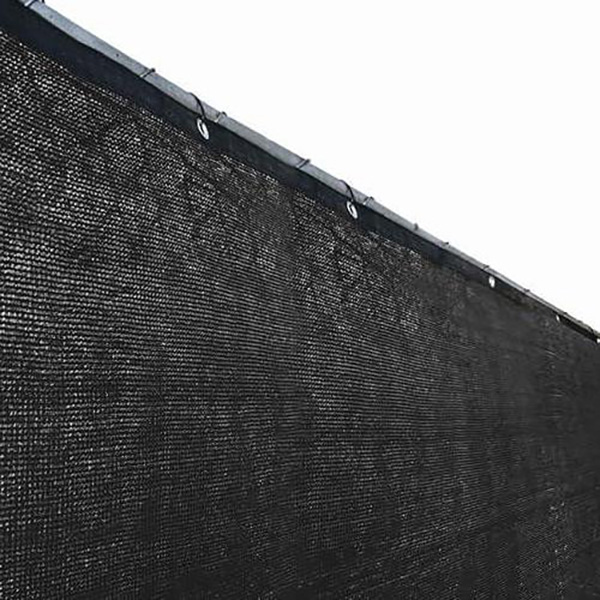
Homeowners can choose from several mesh privacy screens for their fence. Some screens use tightly woven fabric, while others use plastic or metal mesh. Mesh fence privacy screens offer different levels of privacy and airflow, so people should select a product that matches their needs.
A wood fence often works best with fabric or plastic mesh. Chain link fences can support both fabric and metal mesh screens.
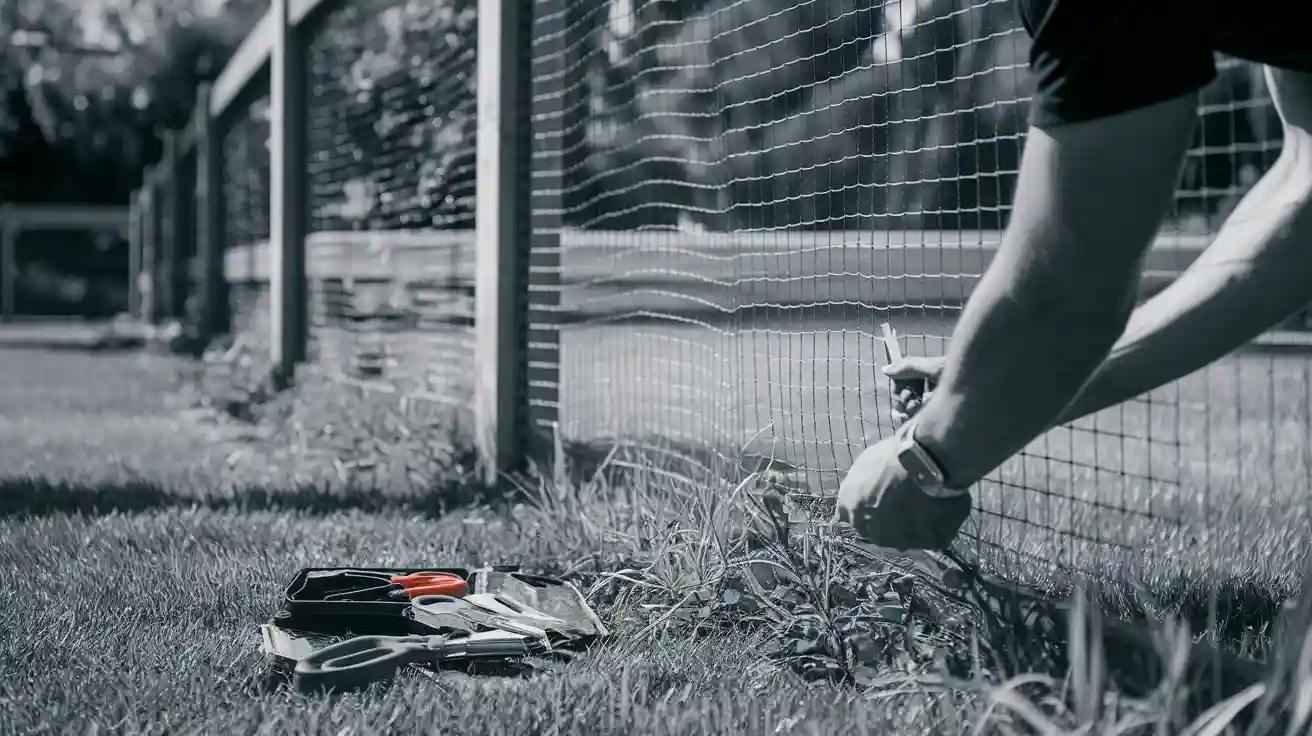
Tools Checklist
A successful installation requires the right tools. Here is a checklist for most fence projects:
- Wire cutters
- Staple gun
- Pliers
- Drill with screwdriver bits
- Measuring tape
A wood fence may also need a hammer and nails. Chain link fences often require extra tie-downs or metal clips.
Fastener Options
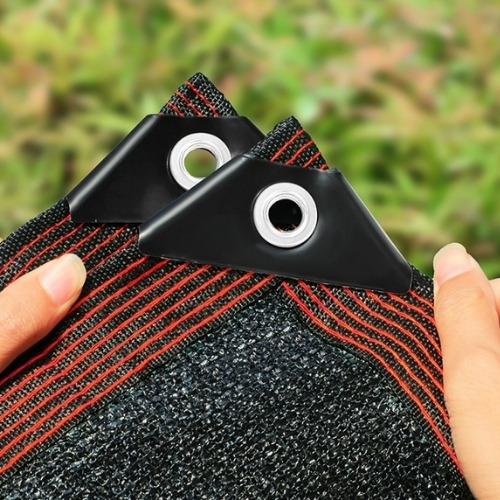
The choice of fasteners depends on the type of fence and screen. For a wood fence, staples, nails, or screws secure the mesh to the wood. Chain link fences use plastic tie-downs, UV-treated wraps, or metal clips to attach the screen.
| Fence Type | Fastener Options | Recommended Screen Type |
|---|---|---|
| Wood Fence | Staples, nails, screws | Fabric or plastic mesh |
| Chain Link | Plastic ties, metal clips | Fabric, plastic, or metal |
People should check that all fasteners are weather-resistant. This step helps maintain privacy and keeps the screen secure in all seasons.
Preparing the Fence
Measure and Inspect
Before installing privacy mesh, people should measure the length and height of the fence. Accurate measurements help them buy the right amount of mesh and fasteners. A measuring tape works best for this step.
They should also inspect the fence for any damage. Loose boards, rusted posts, or bent wires can weaken the installation. If they find any issues, they should repair them before moving forward.
Clean and Prep
A clean fence allows the mesh to attach securely. People should remove dirt, cobwebs, and old fasteners from the surface. A stiff brush or broom works well for most fences.
For wood fences, they should check for splinters or rough spots. Sanding these areas creates a smooth surface for the mesh. Chain link fences may need a quick rinse with water to remove dust or debris.
After cleaning, people should let the fence dry completely. Moisture can cause fasteners to slip or rust. Dry surfaces help the mesh stay tight and secure.
How to Attach Privacy Mesh
Align the Mesh
People should start by unrolling the privacy mesh along the fence. They need to make sure the screen sits straight and covers the desired area. For a wood fence, they should check that the mesh lines up with the top rail and posts. On a chain link fence, they should match the mesh with the wire pattern. This step helps prevent wrinkles and gaps in the privacy fence screen.
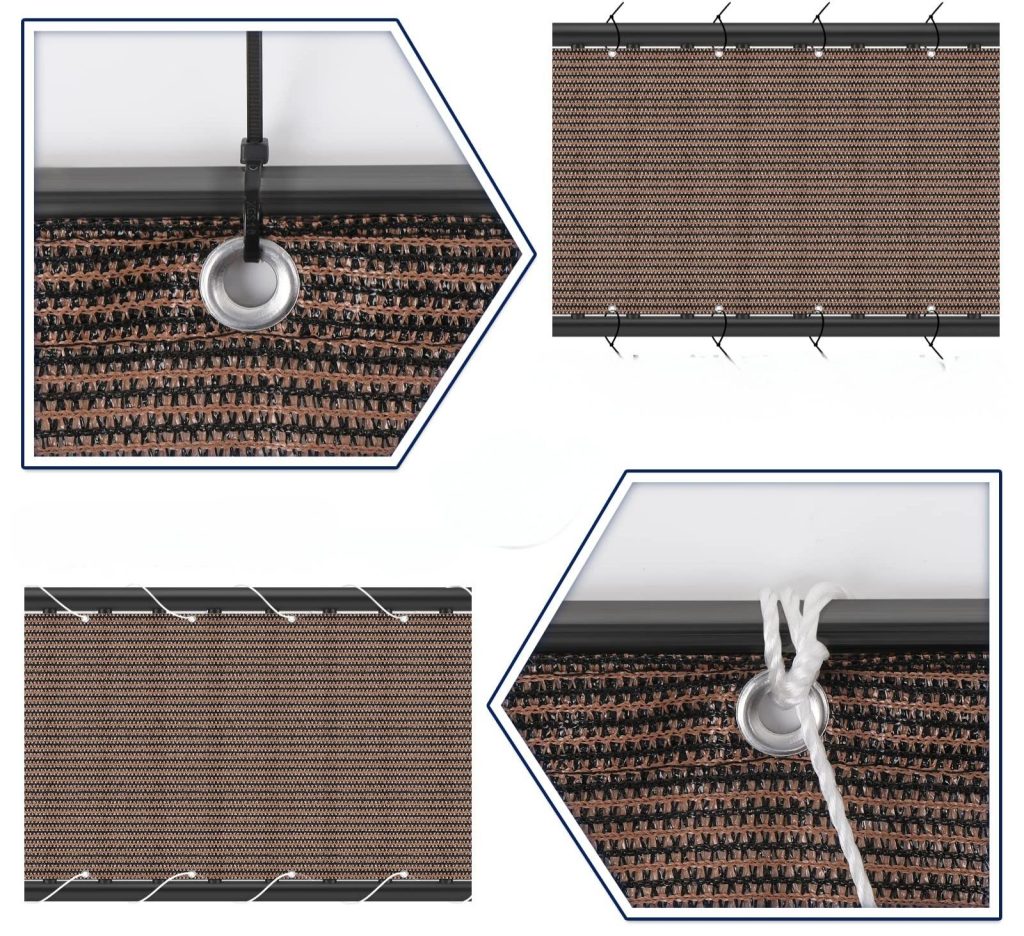
Secure the Top Edge
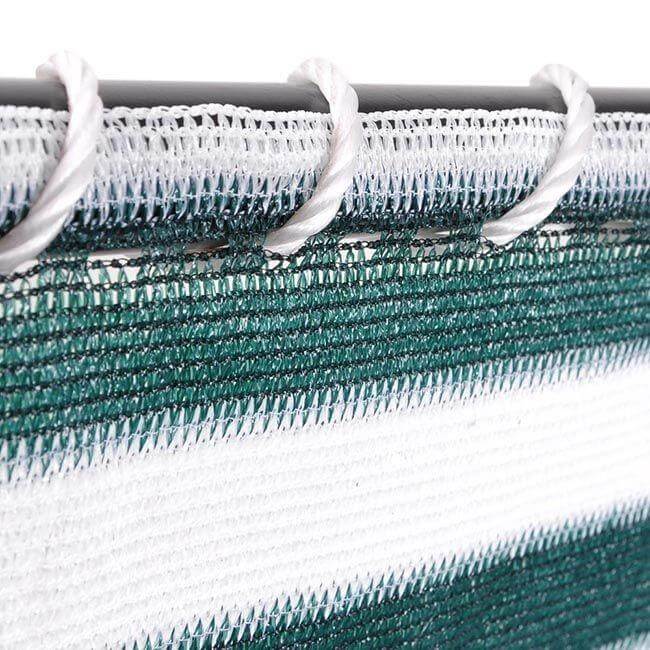
The top edge of the mesh needs strong support. On a wood fence, people can use a staple gun or screws to attach privacy mesh at regular intervals along the top rail. For chain link fences, UV-treated tie wraps or metal clips work best. These fasteners should be spaced every 12 to 18 inches to keep the screen tight. UV-treated wraps resist sun damage and last longer outdoors.
Fasten Sides and Bottom
After securing the top, people should move to the sides and bottom of the fence. On a wood fence, nails or screws can attach privacy mesh along the posts and bottom rail. For chain link fences, plastic ties or clips should hold the screen to the wire mesh. Fasteners should be spaced evenly to keep the screen flat and prevent flapping in the wind. People should check that the mesh stays tight as they work.
- Use pliers to pull ties snug on chain link fences.
- Hammer nails gently to avoid damaging the mesh on wood fences.
Trim Excess
Once the screen is attached, people should trim any extra material. Wire cutters or scissors work well for this step. They should follow the fence line closely to create a neat edge. Removing excess mesh prevents bunching and gives the privacy screen a clean look.
People can attach privacy mesh to most fences in under an hour. Careful alignment and secure fasteners help the screen last through all seasons. A well-installed privacy mesh improves the look and function of any yard.
Privacy Screen Installation Tips
Prevent Sagging
Sagging often reduces the effectiveness of privacy screening. People should stretch privacy netting tightly across the fence before securing it. They can use extra fasteners along the top and bottom edges to keep the screen flat. On a wood fence, staples or screws spaced every twelve inches help prevent drooping.
For chain link fences, UV-treated ties or clips provide strong support. Regular checks allow homeowners to spot loose areas early and fix them before the privacy screen installation loses its neat appearance.
Weatherproofing
Weatherproofing protects privacy netting and privacy screening from rain, wind, and sun. Homeowners should choose the best privacy screen with UV protection for outdoor use. They can apply a clear sealant to wood fence posts to prevent moisture damage. For metal fences, rust-resistant fasteners extend the life of the barrier. People should inspect the privacy screen installation after storms to check for tears or loose sections. Quick repairs keep the visual barrier strong and maintain privacy.
- Use UV-treated wraps for longer-lasting privacy netting.
- Replace damaged ties or clips during windscreen installation.
Maintenance
Regular maintenance keeps privacy screening looking fresh and secure. Homeowners should clean the screen with a soft brush or hose every few months. They can trim plants near the fence to prevent overgrowth from pressing against the privacy netting.
On a wood fence, checking for splinters or loose boards helps protect the privacy screen installation. People should replace damaged sections of privacy netting or fasteners as needed. Consistent care ensures the privacy screen remains an effective barrier for years.
Troubleshooting
Fix Loose Mesh
Loose mesh can make a screen look untidy and reduce its effectiveness. People should check the fasteners along the top and sides of the fence. If they find any loose ties or staples, they can tighten or replace them. Using pliers helps secure ties on a chain link fence. For a wood fence, a staple gun or screwdriver works best to reattach the screen. Regular checks keep the screen tight and prevent future problems.
Uneven Fence Issues
An uneven fence can cause gaps or wrinkles in the screen. People should measure the fence height at several points before installing the screen. If the fence slopes, they can trim the screen to match the shape. For large gaps, they can use extra mesh to fill the space. Keeping the screen level improves both appearance and function. A straight screen also blocks more views and adds to the privacy of the yard.
- Use a level to check the top edge of the screen.
- Mark cutting lines with chalk for a neat finish.
Replace Damaged Sections
Over time, weather or accidents can damage parts of the screen. People should inspect the fence and screen for tears, holes, or broken fasteners. To fix a damaged area, they can cut out the bad section with scissors or wire cutters. They should then attach a new piece of screen using the same fasteners as before. Matching the new screen to the old one keeps the fence looking neat. Quick repairs help the screen last longer and maintain its purpose.
Conclusion
People should measure the fence, clean the surface, and select strong fasteners for privacy mesh. They can enjoy greater privacy and a neat yard after a careful installation. Regular checks and quick repairs help maintain privacy and keep the fence looking good.