You want your garden to thrive even when temperatures drop. Insulated Tarps help you shield your plants from harsh winter conditions. These tarps trap warmth, reducing the risk of frostbite.
Many gardeners find them easy to use and reliable for protecting delicate plants.
Tip: Always check the tarp’s placement to avoid crushing stems or leaves.
Why Use Insulated Tarps Protect Plants?
How Insulated Tarps Work
Insulated Tarps help you protect your plants from cold weather. These tarps use layers of material that trap air and create a barrier against freezing temperatures.
The insulation slows down heat loss from the soil and the plant itself. When you cover your plants with insulated tarps, you keep the warmth inside and block out cold winds. This process reduces the risk of frostbite and damage to leaves, stems, and roots.
You can think of insulated tarps as a winter coat for your garden. The science behind them is simple. Air trapped between layers acts as a buffer. It prevents rapid temperature changes that can harm your plants.
If you use insulated tarps correctly, you give your plants a better chance to survive harsh winter nights.
Note: Always check the tarp for gaps or loose edges. Cold air can sneak in and lower the temperature under the tarp.
Benefits Over Standard Tarps
Standard tarps offer basic protection from rain and snow. They do not provide much insulation. Insulated Tarps give you several advantages:
- Thermal Protection: Insulated tarps keep heat in and cold out. Standard tarps only block moisture.
- Plant Safety: Insulated tarps reduce the risk of frostbite. Standard tarps may let cold air pass through.
- Durability: Insulated tarps often last longer in winter conditions.
Here is a quick comparison:
| Feature | Insulated Tarps | Standard Tarps |
|---|---|---|
| Thermal Insulation | Yes | No |
| Frost Protection | High | Low |
| Moisture Barrier | Yes | Yes |
| Plant Safety | Excellent | Basic |
If you want the best protection for your garden, choose insulated tarps. You help your plants stay healthy and strong all winter.
Which Plants Need Protection?
Identifying At-Risk Plants
You need to know which plants in your garden face the most danger during winter. Some plants handle cold weather well, but others can suffer from frost and freezing temperatures. Look for these types of plants when deciding where to use extra protection:
- Tropical and Subtropical Plants: Banana, citrus, and hibiscus often struggle in cold climates.
- Young or Newly Planted Trees and Shrubs: These have not developed strong root systems yet.
- Tender Perennials: Geraniums, fuchsias, and begonias can get damaged by frost.
- Vegetables with Low Cold Tolerance: Tomatoes, peppers, and squash need extra care.
- Container Plants: Pots lose heat faster than ground soil, so these plants cool down quickly.
Tip: Walk through your garden before the first frost. Make a list of plants that look delicate or have thin leaves. These usually need more protection.
Factors That Increase Vulnerability
Several factors can make your plants more likely to suffer from winter damage. You should check for these conditions in your garden:
- Location: Plants in open or windy spots lose heat faster. Those near walls or fences stay warmer.
- Soil Moisture: Dry soil gets colder than moist soil. Water your plants before a freeze to help them retain warmth.
- Plant Age: Young plants have less energy stored and cannot fight off cold as well as mature ones.
- Exposure: Plants on slopes or in low areas may get colder air pooling around them.
- Plant Health: Weak or stressed plants have a harder time surviving winter.
You can use Insulated Tarps to give these vulnerable plants a better chance. Covering them helps trap warmth and shields them from harsh winds and frost.
Practices of Insulated Tarps

Preparation and Support
You need to prepare your garden before you use insulated tarps. Start by clearing away dead leaves, weeds, and debris around your plants. This step helps prevent pests and diseases from hiding under the tarp.
Check the weather forecast so you know when to cover your plants. If you expect a freeze, act early.
Support is important. You should never lay the tarp directly on your plants. Use stakes, hoops, or frames to create a structure over your garden beds. This support keeps the tarp off delicate stems and leaves. You can use bamboo stakes, PVC pipes, or even wire cages. Make sure the structure is tall enough so the tarp does not touch the plants.
Tip: Add a layer of mulch around the base of your plants before covering them. Mulch helps trap soil warmth and keeps roots from freezing.
Application Steps
Follow these steps to apply insulated tarps safely and effectively:
- Build the Support Structure: Place stakes or hoops around your plants. Space them evenly for stability.
- Lay Down Mulch: Spread mulch, such as straw or wood chips, around the base of each plant. This step adds extra insulation.
- Drape the Tarp: Gently place the insulated tarp over the support frame. Make sure it covers all sides and reaches the ground.
- Secure the Edges: Use bricks, rocks, or landscape pins to hold down the edges. This prevents wind from lifting the tarp and keeps cold air out.
- Check for Gaps: Walk around the covered area. Look for any openings where cold air could enter. Adjust as needed.
- Monitor Moisture: Lift the tarp during the day if the weather warms up. Check the soil for moisture. Water your plants if the soil feels dry, but avoid overwatering.
Note: Remove the tarp on sunny days to let your plants breathe and get light. Replace it before nightfall if cold temperatures return.
Common Mistakes
Many gardeners make simple mistakes when using insulated tarps. Avoid these common errors to protect your plants:
- Crushing Plants: Do not let the tarp rest directly on leaves or stems. Always use a support frame.
- Poor Securing: If you do not anchor the tarp well, wind can blow it away. Secure all edges tightly.
- Ignoring Moisture: Dry soil gets colder faster. Check soil moisture regularly and water as needed.
- Leaving Tarps On Too Long: Plants need sunlight and air. Remove the tarp during warm, sunny days.
- Forgetting to Check for Pests: Tarps can create a warm, dark space for insects. Inspect your plants often.
| Mistake | How to Avoid |
|---|---|
| Tarp touches plants | Use stakes or hoops |
| Loose edges | Anchor with rocks or pins |
| Dry soil | Water before covering |
| No sunlight | Remove tarp on sunny days |
| Pest buildup | Check plants regularly |
Remember: Careful preparation and regular monitoring help you get the best results from insulated tarps.
Difference Between Insulated Tarps and Regular Tarps
Key Material and Design Differences
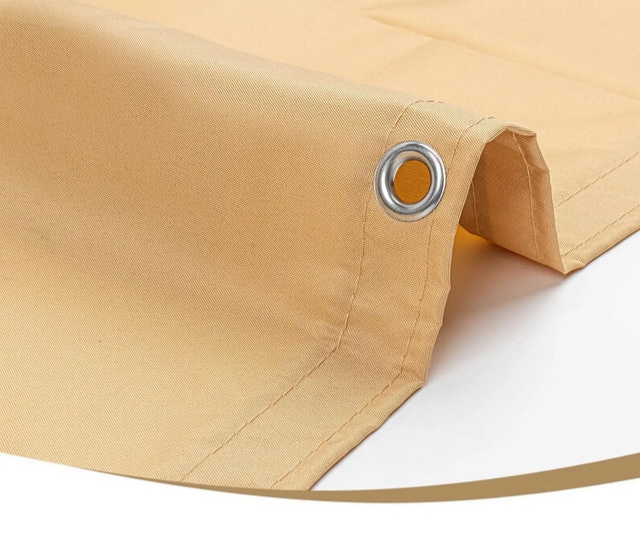
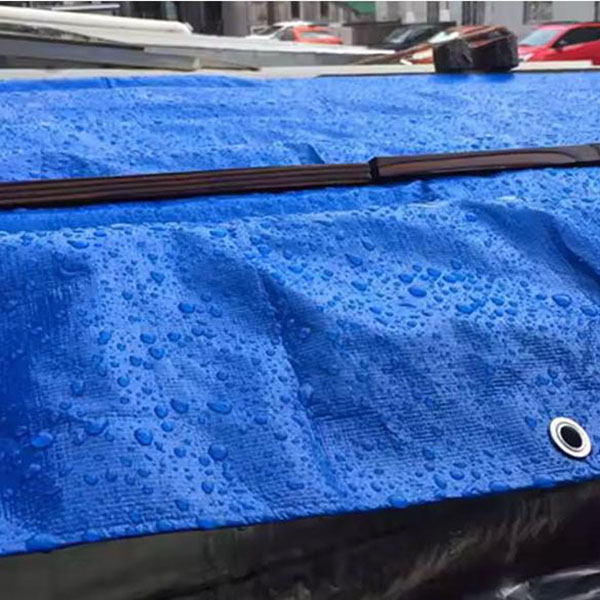
You notice big differences when you compare insulated tarps to regular tarps. Insulated tarps use multiple layers. The outer layer often resists water and wind. The middle layer contains insulation, such as foam or fiber, which traps air and keeps warmth inside.
The inner layer sometimes adds extra protection against moisture. Regular tarps usually have a single layer made of plastic or canvas. These materials block rain but do not hold heat.
| Feature | Insulated Tarps | Regular Tarps |
|---|---|---|
| Layers | Multi-layered | Single-layered |
| Insulation | Foam or fiber core | None |
| Water Resistance | High | Moderate to high |
| Wind Protection | Excellent | Basic |
You get better results with insulated tarps because the design keeps cold air out and traps heat. Regular tarps only shield plants from moisture.
Tip: Always check the label for insulation thickness. Thicker insulation gives you more protection during freezing nights.
Cost Difference
You pay more for insulated tarps than for regular tarps. The extra layers and special materials increase the price. Regular tarps cost less because they use simple designs. If you want to protect valuable or sensitive plants, the higher cost of insulated tarps makes sense. You invest in better plant health and fewer losses during winter.
- Insulated tarps: Higher price, longer lifespan, better protection
- Regular tarps: Lower price, shorter lifespan, basic coverage
Protection for Plants
You give your plants stronger protection with insulated tarps. The insulation keeps soil and air around your plants warmer. This reduces the risk of frostbite and cold damage. Regular tarps block rain and snow but do not stop freezing temperatures. If you use insulated tarps, you help your plants survive harsh winter weather.
Note: Choose insulated tarps for young, tropical, or sensitive plants. You improve their chances of thriving until spring.
Conclusion
You give your plants the best chance to survive winter when you use insulated tarps. These tarps trap warmth, block cold winds, and protect delicate stems. Follow each step for preparation, support, and moisture control. You avoid common mistakes and keep your garden healthy.
Tip: Create a quick checklist for winter plant protection:
- Identify at-risk plants
- Build support structures
- Apply mulch
- Secure tarp edges
- Monitor moisture and sunlight